How to Take Pictures of Your Car
by Paul Economou
stealth_bombaz@hotmail.com
Page 5
6. Zoom. Use your cameras optical zoom! Zooming in on the picture brings more attention to the car, and less on the background if that is the desired effect. Digital zoom on the other hand is something to stay away from. The only thing it will do is lessen the quality of your pictures, by creating more digital noise.
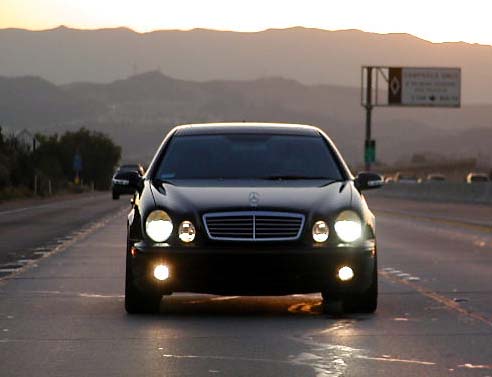
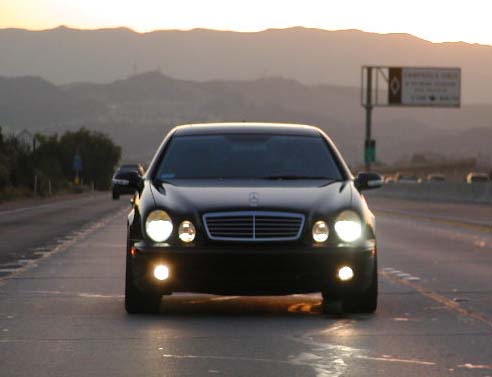
Here are 2 examples of this. Different days, and different cameras, very similar angles you still see how zooming in helps.
No zoom (and a crappy camera, but that's beside the point)

Zoom
7. Editing. Don't be afraid to use photo editing software to change the pictures around to get the colors right and distracting objects out of the background. The joy of computers, and digital photography is that you have so much technology at your fingertips to edit, or even manipulate your pictures into being better than they were originally. This can be considered the 21st century's version of the "dodge and burn" method, where pictures were slightly altered in the darkroom by exposing certain parts to light, and blocking others, which in turn gave black and white photography more to work with. The next few points will have been done using Photoshop 6.0, and I will edit the same picture each time, applying each editing topic to the picture as I go along.
A. Auto Levels and Auto Contrast. If your eye isn't trained well enough,
or you simply lack the know-how in Photoshop to alter the colors yourself, these
are quick and easy ways that for the most part give great results. You might
feel that the picture already looks awesome, but just a quick click on the auto
levels and/or the auto contrast options make the colors come out all the more,
and it vastly improves the overall quality of the picture. (Image>Adjust>Auto
Levels) (Image>Adjust>Auto Contrast)
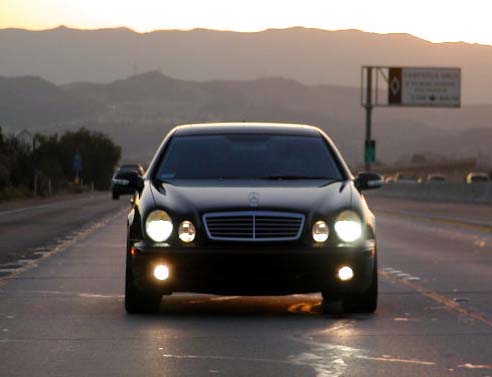
Example Before AL/AC:
After, although very small difference, it still helps a lot. Each pictures results do vary:
B. Sharpening. Photoshop does have a built in sharpening tool, but I use a different action that is probably one of the best sharpening actions out there. I use Edge Sharpen Pro v.2.0 (http://www.fredmiranda.com/ES_PRO16bit/index.html). It is a free download, and if you know how to use actions in Photoshop, I highly recommend it. This will help sharpen the picture if the camera didn't do a good enough job. The only problem is that sometimes it does cut down on the image quality.
Example after Sharpening the previously edited picture using Edge Sharpen Pro's Default sharpening settings: